For some gestational carriers, their surrogacy journey in Boston, San Francisco, New York, or anywhere else in the world doesn’t end when they give birth. In addition to continuing to grow their relationship with their intended parents (now parents!) and their new baby, some surrogates will continue to pump and send breast milk to their intended parents for feeding. their new baby.
The decision to pump and send breast milk to your intended parents after birth is one that is made together at different stages of your journey. Surrogates are not required to pump and express breast milk, although many prefer to do so.
If a surrogate knows that pumping and expressing breast milk isn’t something she’s interested in doing, she’ll be matched with intended parents who share a similar perspective. The decision to pump and send breast milk to your intended parents after birth and how the process will work is one that is made together during the matching process.
fun fact, alternates receive compensation for pumping and expressing breast milk!
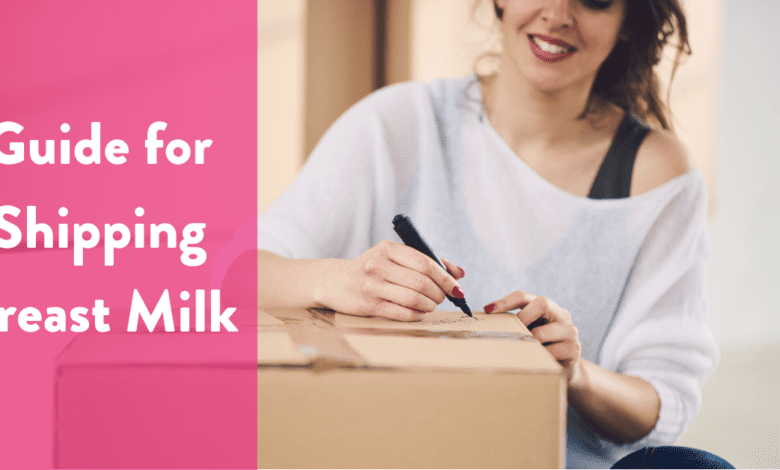
Pumping and expressing breast milk is not difficult at all! This short guide will let you know how to properly ship breast milk so that it arrives frozen to your intended parents.
What supplies are needed to ship breast milk?
First, the surrogate will need a breast pump. It could be a pump she used from her own pregnancies, or a new one. Supplies can be purchased at any big box store or at large online retailers.
Items you will need for each breast milk shipment*:
- Milk storage bags
- Styrofoam sweater
- Newspaper
- Packing tape
- Shipping box (large enough to fit in your refrigerator)
- Dry ice
* The average cost of shipping breast milk is $400-$500 per shipment, these costs are covered by your intended parents.
How to send breast milk:
- Place all of your pumped milk in the freezer in breast milk storage bags. Storing it between cookie sheets allows it to freeze flat, making packing easier. When filling milk bags, be sure to leave some room for the milk to expand as it freezes (about 6 oz per bag).
- Once the milk is frozen, place the frozen bags of milk in a single layer on the bottom of the refrigerator.
- Continue placing frozen bags of milk, packing the cooler as tightly as possible. the less open space, the colder the milk will stay.
- Be sure to leave room in the cooler for dry ice. In a 22 quart cooler, you can put about 26-34 bags of milk. Once all the milk is packed, cover the breast milk with newspaper.
- Place the dry ice in a paper bag and place it on top of the newspaper. Cover the dry ice with another layer of paper. Be careful with dry ice, it should be locked in at all times and not loose in the refrigerator.
- Place the entire cooler in a shipping box. For a 22-qt. cooler, a 16″x16″x15″ box works well.
- Close the tape box. Write ‘PERISHABLE’ or ‘FROZEN’ on all 4 sides as well as the top of the box. Call your shipping facility before arriving to ship your package to understand their guidelines for shipping packages with dry ice.
- Ship the box via UPS or FedEx. You will need to provide the forwarding information of your IPs. Send the package with PRIORITY OVERNIGHT to ensure your IPs receive it by the next afternoon.
That’s it, that’s how to send breast milk!
If you have extra milk and want to donate it to other babies who don’t have access to breast milk, read our related blog post about surrogate milk donations.
Do you have other questions about the surrogacy process or breast milk donation? Check out our Surrogate FAQ page where we answer our most asked questions from surrogates! You can learn more about becoming a Circle alternate or start your application today.