Diaper owl tutorial – how to make an owl diaper cake
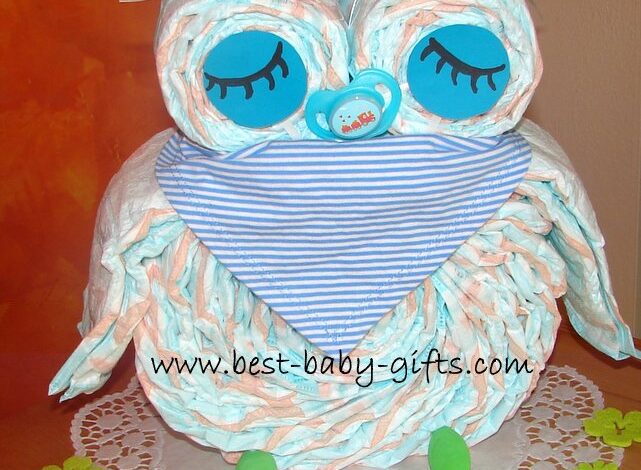
Making a diaper owl is a little trickier than making other diaper gifts. But if you are a crafty person, you can definitely make this creative and totally cute homemade baby gift with little or no experience.
Just follow my step-to-step owl diaper cake instructions and read my tips before you start your project.
How to make a diaper owl – what you need:
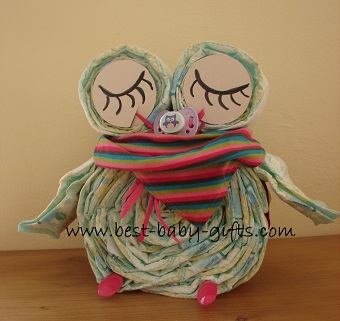 |
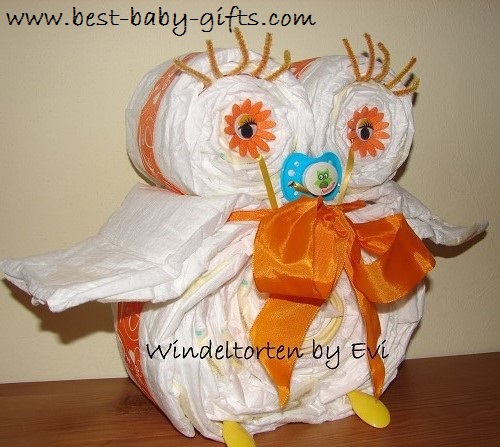 |
* 30-36 size 2 or 3 diapers
* a cute baby scarf / bandana / bib or something similar
* 2 plastic baby spoons
* a pacifier (especially cute if it has an owl print on it)
* extra, if you want but not mandatory: a piece of baby clothes, washcloth, etc. to be included in the owl’s belly
* some thin ribbons and some colorful wide ribbons that match your accessories (as an alternative for a slim ribbon, some strings are also nice). The slim ribbon should not have a prominent color, preferably white or creme like diapers (I just used pink so you can see it better in the pictures!)
* eyes (shaking eyes, some cardboard and pens, artificial flowers, flowers or hearts, etc.)
* a cake pan, pot or similar container, ideally an adjustable cake setting ring with a dia. about 8 inches. If you don’t have a setting ring, it’s not worth buying one just to make an owl but this tool is also great for decorating a real cake! Check this out:
Check out what Dani from Hooper, UT had to say about making
a diaper owl using my tutorial and see how cute his owl diaper cake is!
Note: it’s always nice if your accessories are ‘owl-related’ – like in the pictures above – a pacifier with an owl print, a baby scarf or baby bib with an owl, etc. . Since owls are so popular these days, you’ll find lots of baby items with an owl or owls on them.
How to make a diaper owl – instructions:
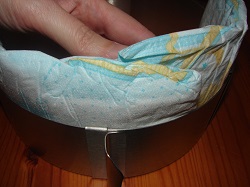
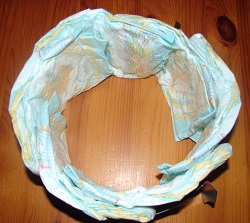
Grab your cake setting ring (or pan, etc.) and start stacking the diapers on there. Make sure they all face the same way and overlap a bit (for the outer layer you’ll need about 10 diapers depending on the size and brand you’re using).
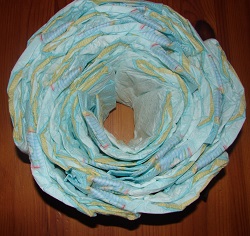
Continue stacking diapers until your ring is almost full.
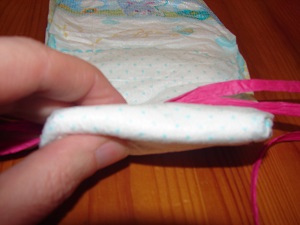
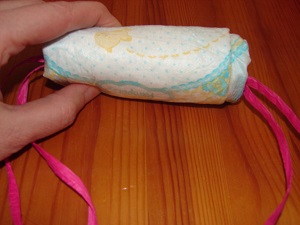
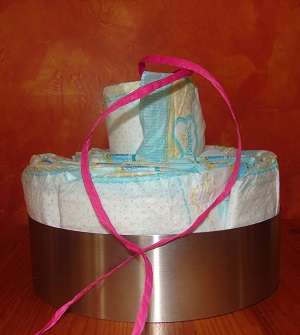
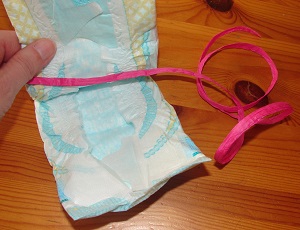
For the middle of your owl’s body, take 2 slim ribbons/string of approx. 30 inches long and roll the diaper around. Then take a second diaper, open it and roll it around the first diaper. If necessary, repeat with a third diaper. Then place this roll inside the hole. The diaper roll will not fall into the hole because it fixes itself in the hole. If you want to include a onesie or any other small piece of clothing in the owl’s belly, roll the onesie up and then roll a diaper or two around. Don’t forget the ribbons inside!
Tie a thin ribbon around the diapers and then remove the cake ring.
 |
 |
 |
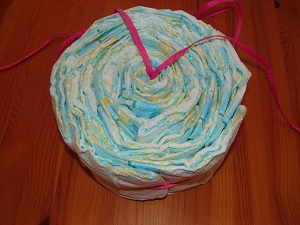 |
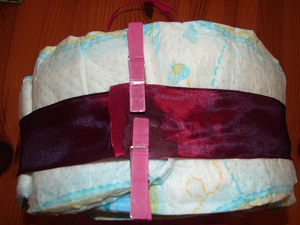
Take a piece of wide ribbon and place it on top of the thin ribbon that goes around the owl’s belly. Use a little glue to fix it or tie it in a knot. The place where you attached the ribbon is at the top of the owl’s body where we will fix the head parts, so that it is not visible. Alternatively, it could be at the bottom so you can’t see there either.
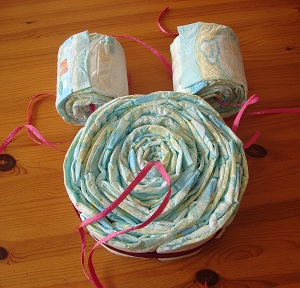
Now we still need 2 rolls for the top and eyes. Take another small ribbon of approx. 20 inches, roll a diaper, and then 5 more, always in a row. Fix with some adhesive tape.
Then, prepare another roll like that, but include two small ribbons.
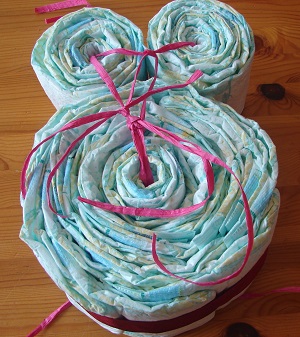
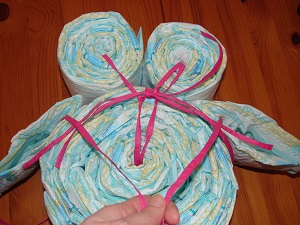
Choose the side that looks the most accurate of all your 3 owl parts. This will be the front. Lay your 3 pieces so the backs are facing you. Then tie the knots with your ribbons so that everything stays together and is held by the ribbons, even when you place your owl upright. Since this side will be the back you don’t need to do it properly. Then, do the same with the front ribbons but be more precise and careful there.
For the side wings, take two more diapers. Open them and pull a small ribbon. Place a ‘wing’ on each side of your diaper owl and tie the ribbon around the neck. Tie the ends of the ribbon to the other ends of your ribbons.
 |
 |
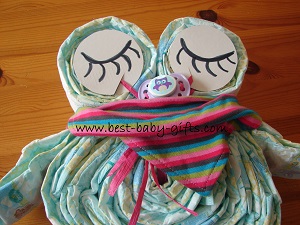 almost done! almost done! |
To finish your owl, glue a pacifier between the two parts of the head and fix it with the help of your ribbons. Place a scarf or bib around the diaper owl’s neck so that most of your ribbons and knots are covered. |
Create some eyes – either stick on quivering eyes, some artificial rose flowers or felt flowers. Or use some cardboard circles and draw some eyes. Cut out your cardboard and push it onto your ribbon, you don’t need any glue for that!
Finally use two plastic spoons for the owl’s feet and glue them between the bottom diapers. No need to adjust them, they will stay tight there.
Cute owl bib to use and add to your pampers owl cake:
Optional:
For your owl’s eyelashes use a few stalks of chenille and stick them between your diapers.
Diaper owl gallery – more photos:
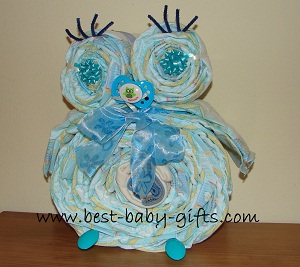 boy diaper owl boy diaper owl |
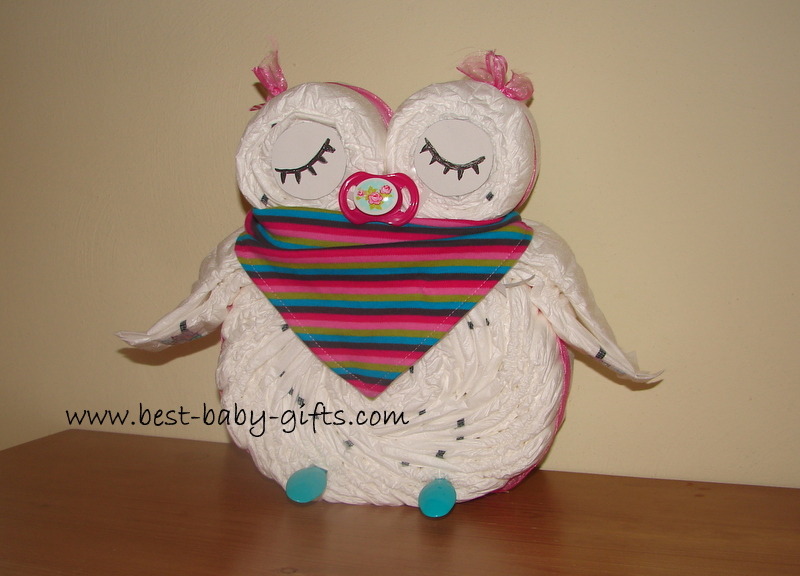 sleepy diaper owl for girls sleepy diaper owl for girls |
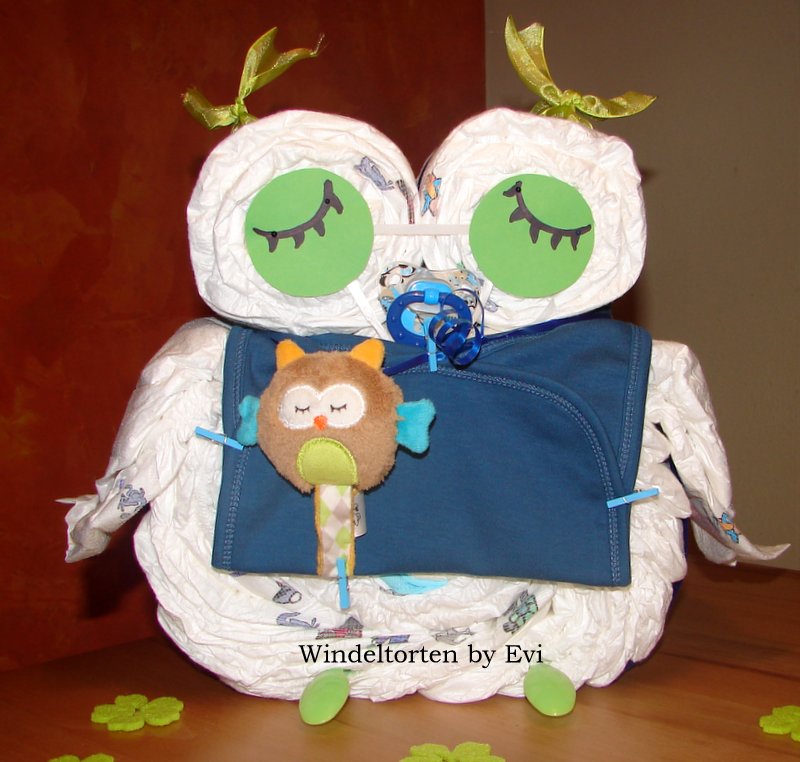 diaper owl with baby diaper owl with baby |
 girl diaper owl girl diaper owl |
See more picture of owl diaper cakeall done by myself, here.
If you’ve made a diaper owl or any diaper gift using my instructions, I’d love to see your craft. Please post up to 4 photos on my ‘Diaper Cake Gallery‘ and write something about it! Thanks a lot.
Back From Diaper Owl To Diaper Animal
Return to the Best Baby Gifts Homepage


