How to Make the Best Amazon Baby Registry
The Amazon baby registry is a favorite among new parents because it’s easy to use, offers a wide range of products, and has fast (and easy) shipping and returns.
In this article, we’ll go over the upsides, downsides, and how-tos of the Amazon baby registry so you can decide if it’s the best baby registry for you (and your newest addition)!
Reasons We Love Amazon’s Baby Registry
Effortless to Use
Amazon makes it easy (almost too easy) to find and buy everything you’ll need for your baby. Their registry has a built-in checklist that automatically ticks off items as you add them. The aesthetic format makes it easy to view all your products so you can see what’s missing.
Additionally, “trash” and “edit” buttons are easily accessible next to or below each product, making it easy to remove the product, adjust the quantity, or mark it as a “must- there is.” Overall, the Amazon baby registry is very simple, making the process of creating a registry quick and painless.
Wide Range of Products
Amazon has many products in a wide range of styles. Whether you want a maximalist nursery full of colorful decor or prefer a minimalist aesthetic, Amazon has products to suit your unique taste.
In addition, Amazon products accommodate a wide range of budgets. So whether you’re looking for expensive baby products or affordable, safe, and effective options, Amazon has what you’re looking for.
Fast and Easy Shipping and Returns
Amazon shipping is fast and easy, especially for Prime members. You’ll have time to test your baby products and determine if they’re right for your growing family.
What Are the Disadvantages of the Amazon Baby Registry?
There are three main downsides to the Amazon baby registry.
First, you need a Prime membership to get all the benefits of the Amazon baby registry. So, if you don’t have Prime, this registry might not be perfect.
Additionally, Amazon does not allow you to add items from other websites. So, if you want non-Amazon products, you may have to create two registries, which is a bit of a hassle.
Finally, Amazon’s product suggestions are quite broad, which may feel overwhelming for some. If you’re a “just the basics” kind of person, you might prefer WebBabyShower’s simple baby checklist.
How to Create an Amazon Registry?
Go to the “accounts and lists” tab on the website, then select the “Find a list or register” button. This should take you to a webpage with a button that says, “Create a registry or gift list.” Click it, then click the button that says, “I’m welcoming a baby.” This will allow you to create your baby registry!
How Do You Add Items to the Amazon Baby Registry (Online and In the App)?
Adding items to your Amazon baby registry on your phone and the website is easy as pie.
On the website, simply find the product you want, then look on the far right of the page below the “add to cart” button for the “add to registry” button. Click on the button to add the product to your registry. You can also adjust how much of that product you want, whether it’s a “must have” item, and whether you want to allow group gifting.
In the app, find the item you want, scroll down below the “add to cart” button, and select the “add to baby registry” button. You can always delete, edit, or adjust the product on your baby registry page if you make a mistake.
Can You Add Items From Another Website or Store to Your Amazon Baby Registry?
Unfortunately not. Amazon has a dating assistant extension that allows you to add products from other sites to your registry. But, they have discontinued this feature and the ability to add non-Amazon items to your wishlist. So, if you want some items that aren’t on Amazon, you may want to choose a different registry platform.
How Do You Get the Welcome Box and Completion Discount?
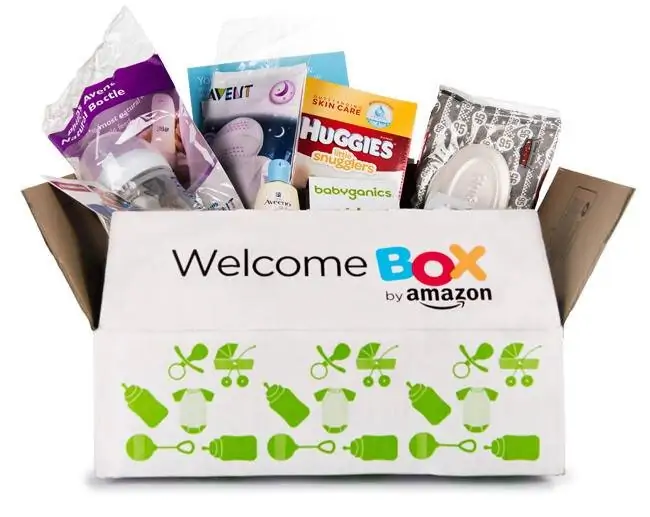
You must complete three requirements to receive Amazon’s Welcome Box of product samples worth up to $35:
- You must be an Amazon Prime member.
- You should complete 60% of your Amazon baby registry checklist.
- You (or a loved one) must make a minimum $10 purchase at enrollment (not including tax or shipping).
You automatically get the completion discount if your baby registry is active for more than 14 days. The discount starts 60 days before your baby’s arrival date and expires 90 days later.
How to Find Registry on Amazon App
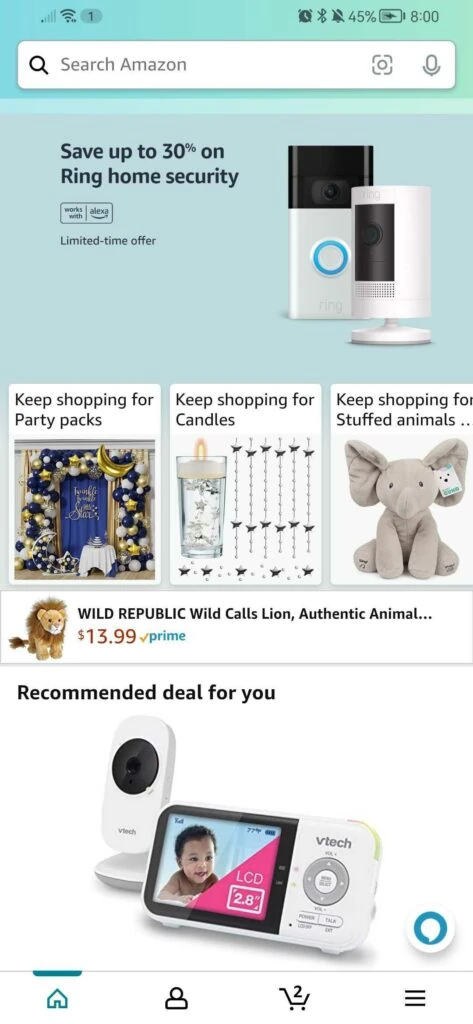
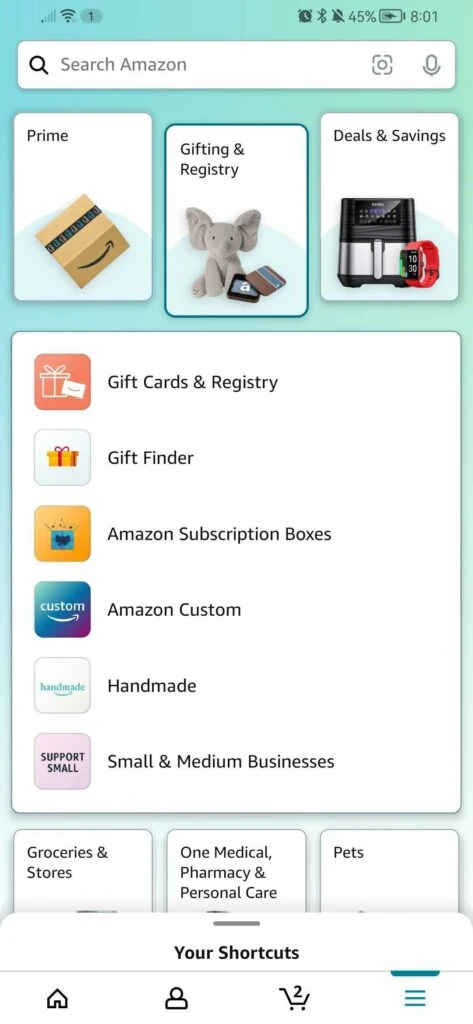
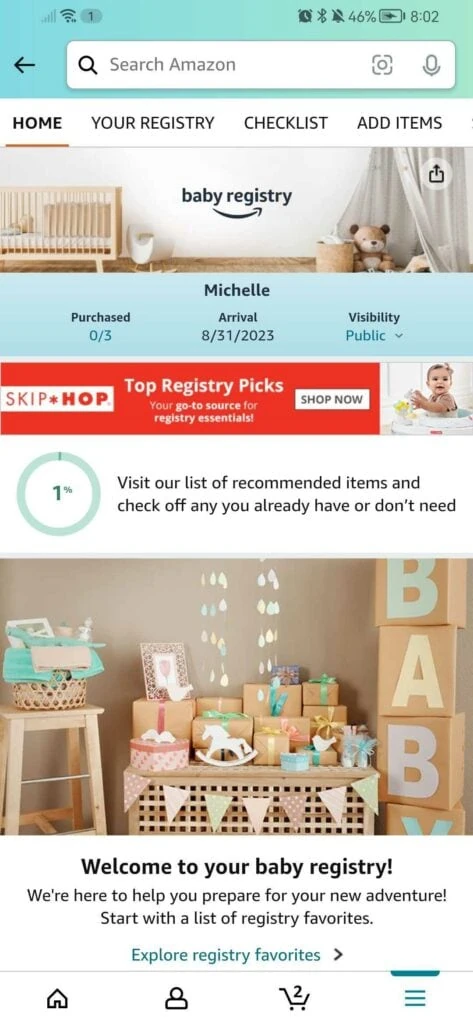
So, how do you find an Amazon registry on your phone? Honestly, it’s a bit confusing at first because you have to select several buttons. But, once you’ve done it, it’s easy to go back to in the future.
To begin, click on the “Lists and Accounts” tab at the bottom right of the app, designated by three lines that look like a small list. On the page, you should see several buttons list options like “Prime,” “Inspiration,” and “Deals & Savings.” In the upper right, you should see a button labeled “Gifting and Registry.” Click here, then click on the button labeled “Gift Cards and Registries.” Next, click “Baby Registry.” This will take you to your registry overview page.

Frequently Asked Questions
How to Use the Amazon Baby Registry as a Gifter
You’re in luck if you’ve received an Amazon enrollment link from new or soon-to-be parents. It’s one of the easiest ways to buy a gift you know they’ll love while staying within your budget.
Just click the checkout link and add the items you want to buy to your cart. When checking out, Amazon should automatically add the parent’s shipping address to your order. So, all you have to do is pay, and your gifts will be sent to the parents-to-be. It’s easy, right?
How do I make a ‘must have’ item on my Amazon baby registry?
You can make a product a “must have” item on your Amazon baby registry in two ways.
After you add the product to your registry, a screen will appear where you can check a box to make the product a “must-have” item.
If you forgot to mark the item as a “must have” when you added it, just go to your registry page and scroll down to the item. Click the “edit” button, then select the “mark as must have” option.
Not sure which items you should mark as “must haves?” That’s okay – we’re here to help. Check out our baby registry checklist to determine which items you really need (and which are just for fun)!
How to delete an Amazon registration?
On your registry homepage, go to the “settings” tab, then scroll down to the bottom of the page. Select the button in the lower right that says “Delete your registry.” Then, voila, your registry is deleted.

