
I was looking for some fresh Halloween decorations this year when I came across these adorable light-up ghosts from Pottery Barn.
But alas, they went a bit over my budget. That’s when I thought, “Why isn’t this DIY?” And guess what? It’s been a breeze! So, if you’re up for a super easy 5-10 minute DIY that costs around $15 or less (if you already have some of these items), then join me as we build our outdoor safe , DIY light-up ghost !
First, let’s talk about the stuff. You will need a tomato cage, outdoor safe string lights, a white tablecloth, styrofoam balls, black sticky vinyl paper and some netting for texture.

To start things off, grab your wire cutters (and don’t forget your protective eye goggles) and cut your tomato cage to your desired size. Remember, we will be turning the cage upside down, so keep that in mind when measuring. I made two of my ghosts the same size and one a little shorter for variety.

Next, gather all the legs of the tomato cage together (carefully, of course) and secure the styrofoam ball on top. I kept the plastic wrap on my styrofoam ball for some extra weatherproofing.

Once that’s done, it’s time to wrap the tomato cage in string lights. Be sure to leave the bottom edge of the outlet with enough slack to plug it in! I used these outdoor-safe timer lights, which are perfect because you can just set them and forget them!

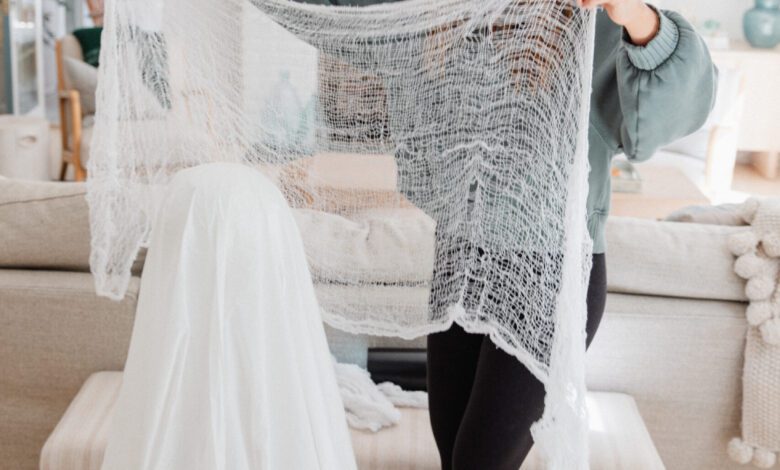
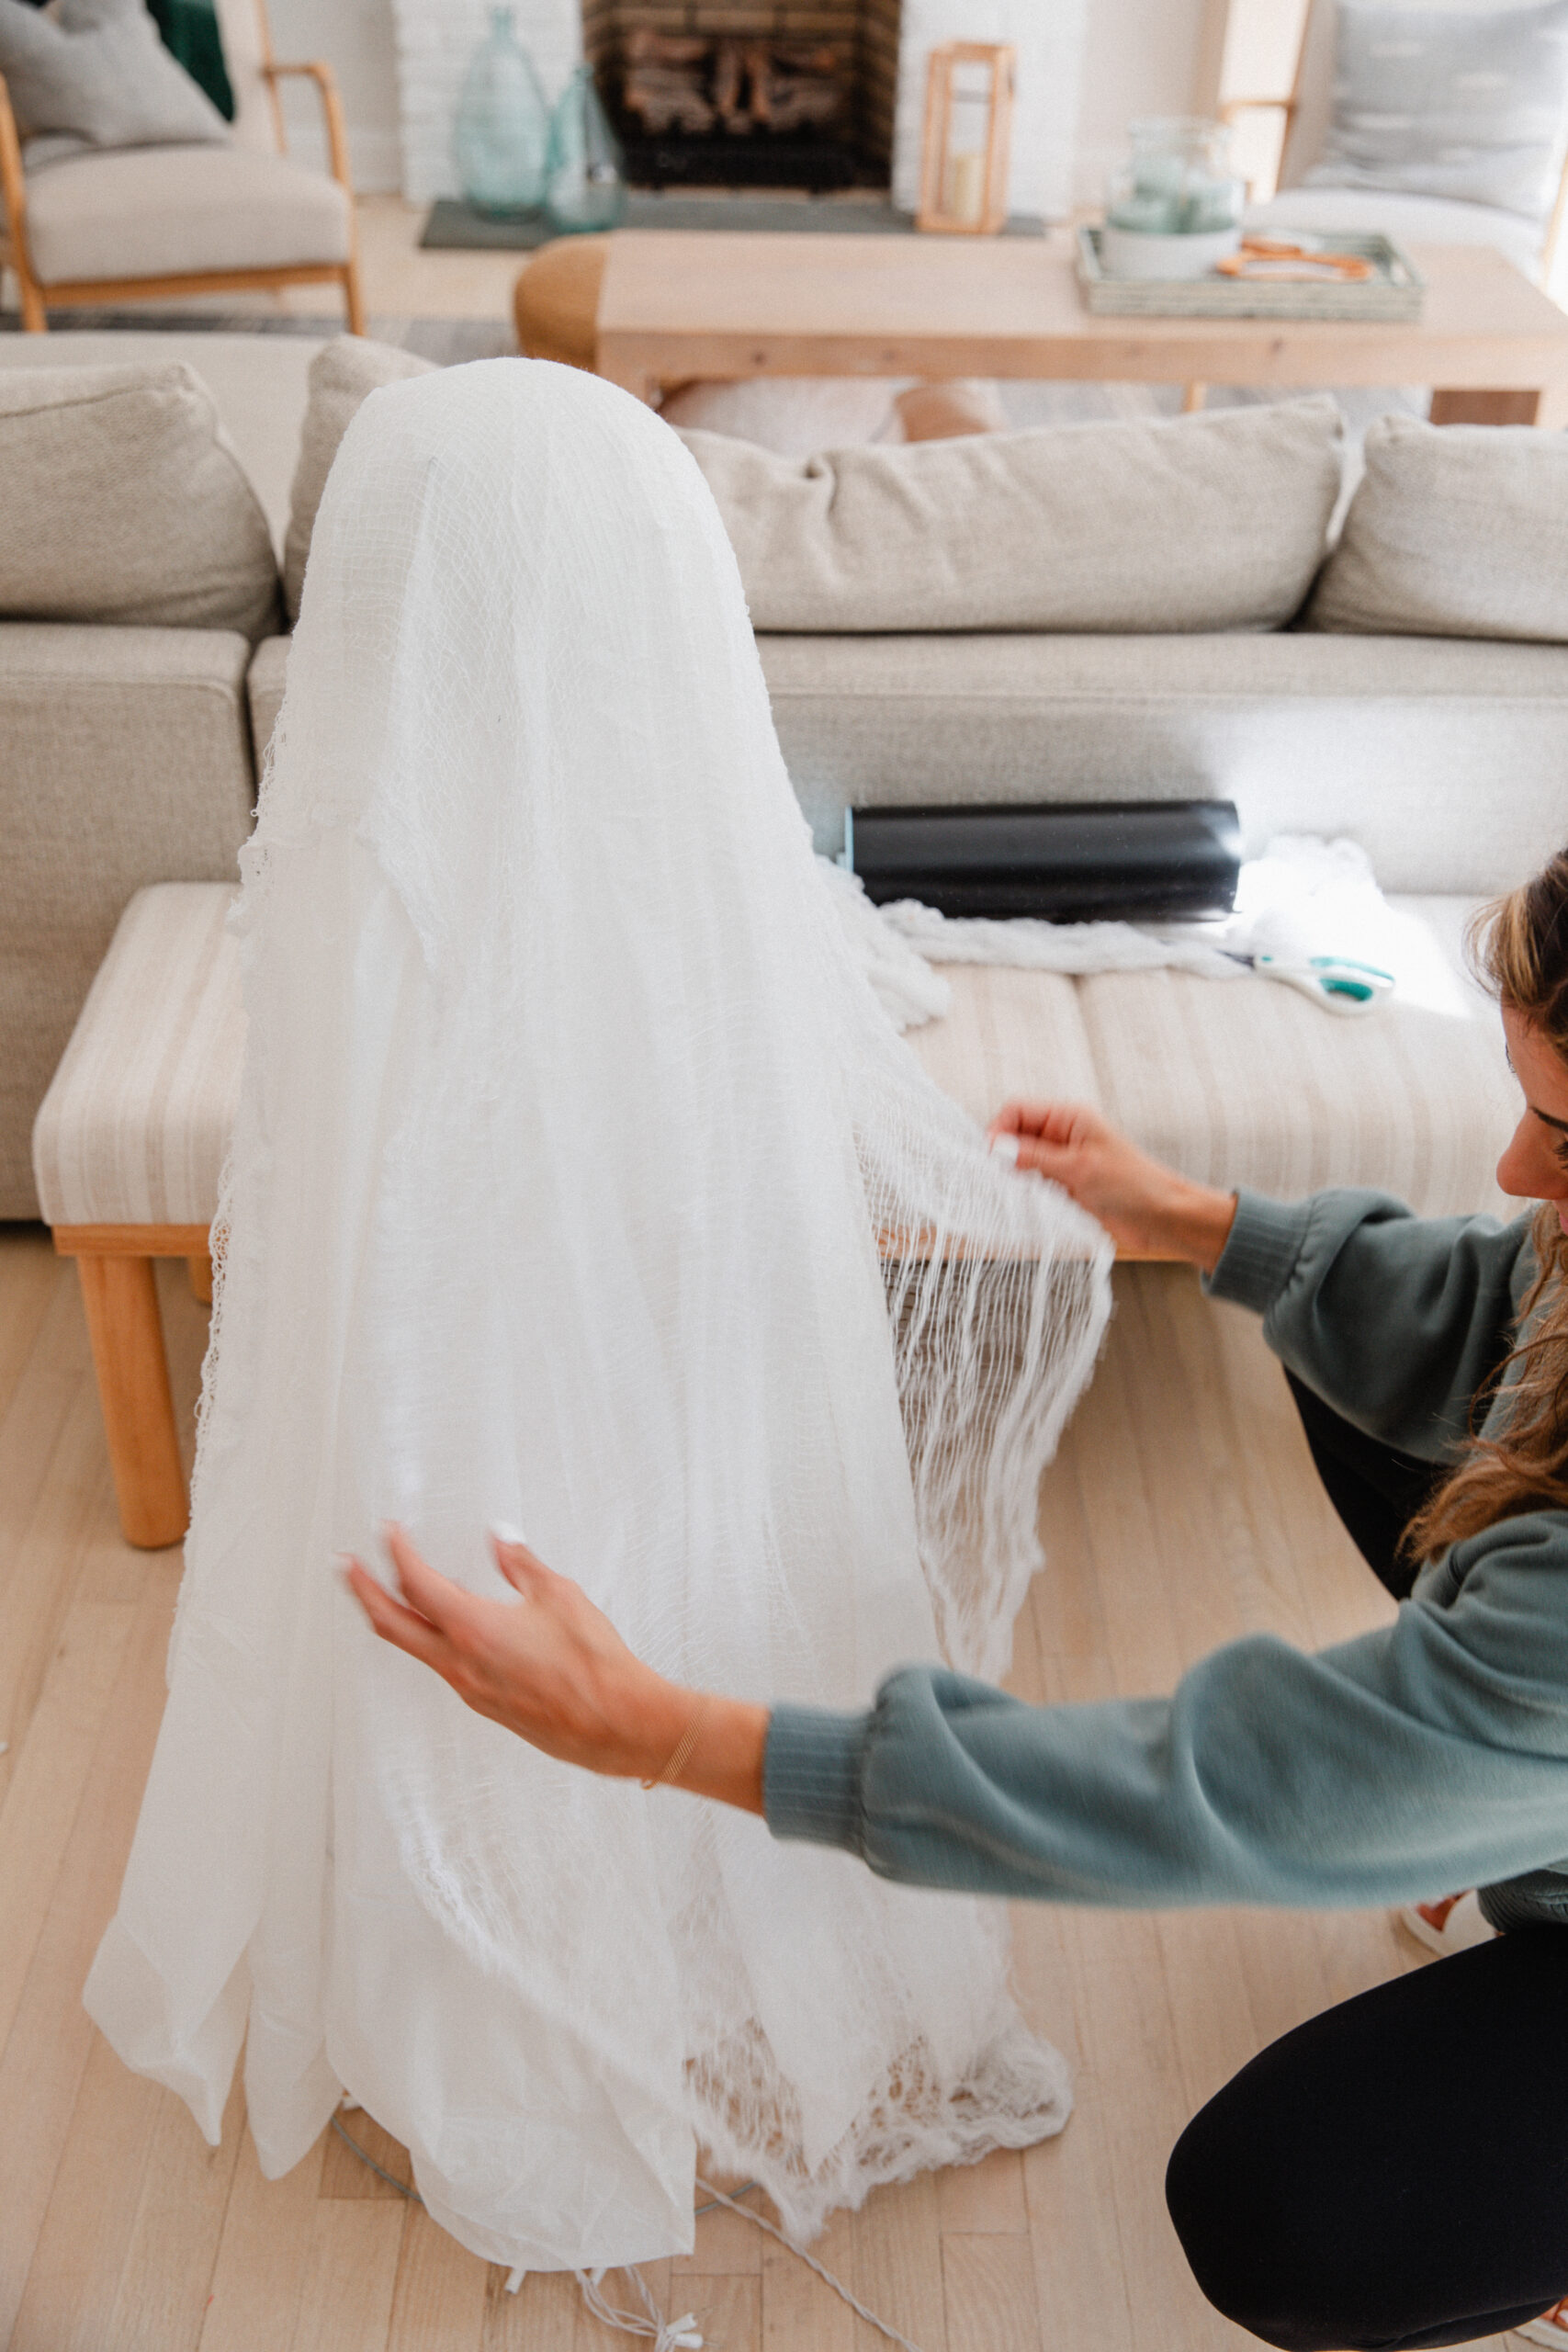
Now drape the tomato cage with a vinyl tablecloth, followed by netting.

Don’t worry if your ghost is short, you can always cut the net.
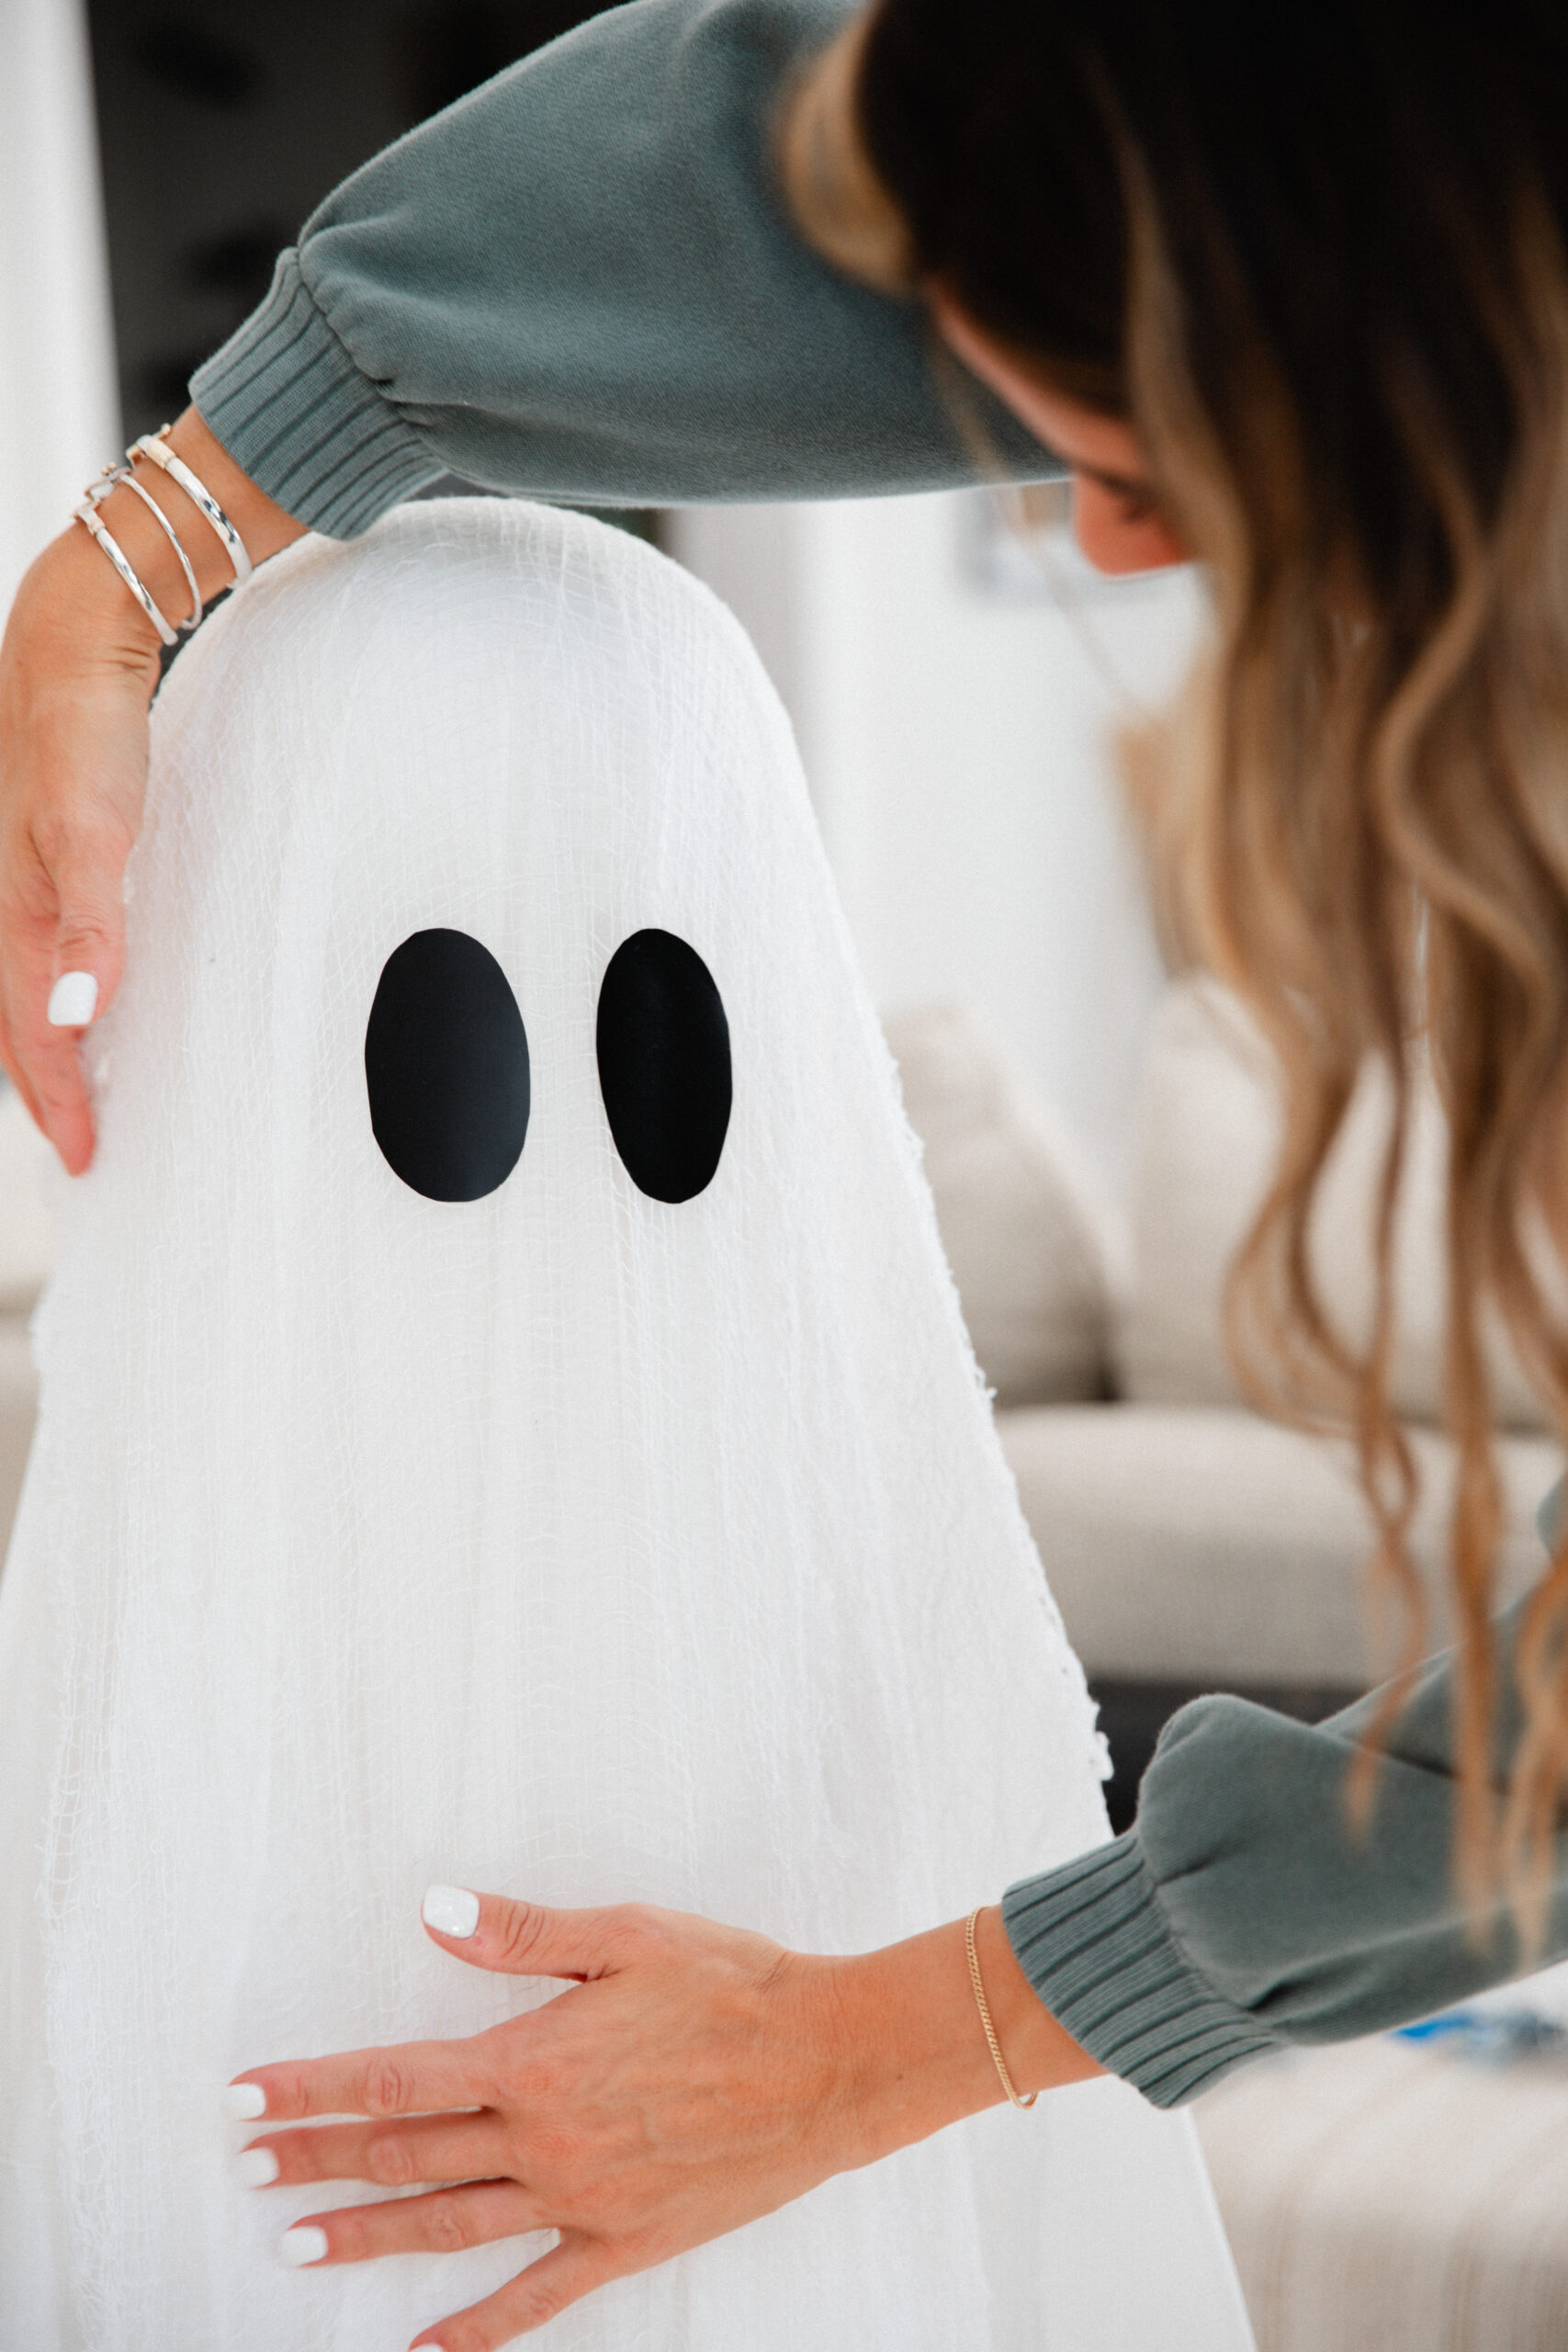
Finally, cut out some eyes from your sticky black vinyl. I cut out one eye and then used it as a template for the next!

But you can be creative with faces! That’s the beauty of DIY, don’t be afraid to make it yourself!

And voila! You have some homemade light-up ghosts. They are timeless, absolutely adorable, and visible from the street! Not only are they easy to make, but the supplies are super affordable too. Plus, they’re easy to recreate next year just by changing out the tablecloth and styrofoam (in case the weather decides to throw us a curveball this year). If you make them, don’t forget to tag me on Instagram so I can see your creations! Can’t wait to see what you come up with. Happy Halloween!